
One thing I love about having a girl is that I can make her a outfit for every holiday, if I wanted. I haven't gone totally crazy...yet, so I don't do every holiday but one I do ever year is Valentines. This year I decided on a shirt, Vada does NOT like dresses at the moment and I wanted to make something that she can wear more than once, so a shirt it was.
Supplies: A t shirt (this one is from Walmart as well for about $3.00) and a piece of coordinating fabric. It can be anything really, just so you and her like it. You can use regular cotton or jersey (the type of fabric t shirts are made of) but it will make for a little more difficult project if your not used to sewing with it. I'll do a post on jersey sometime! You need enough of your coordinating fabric, I chose regular cotton, for the shape of a heart.


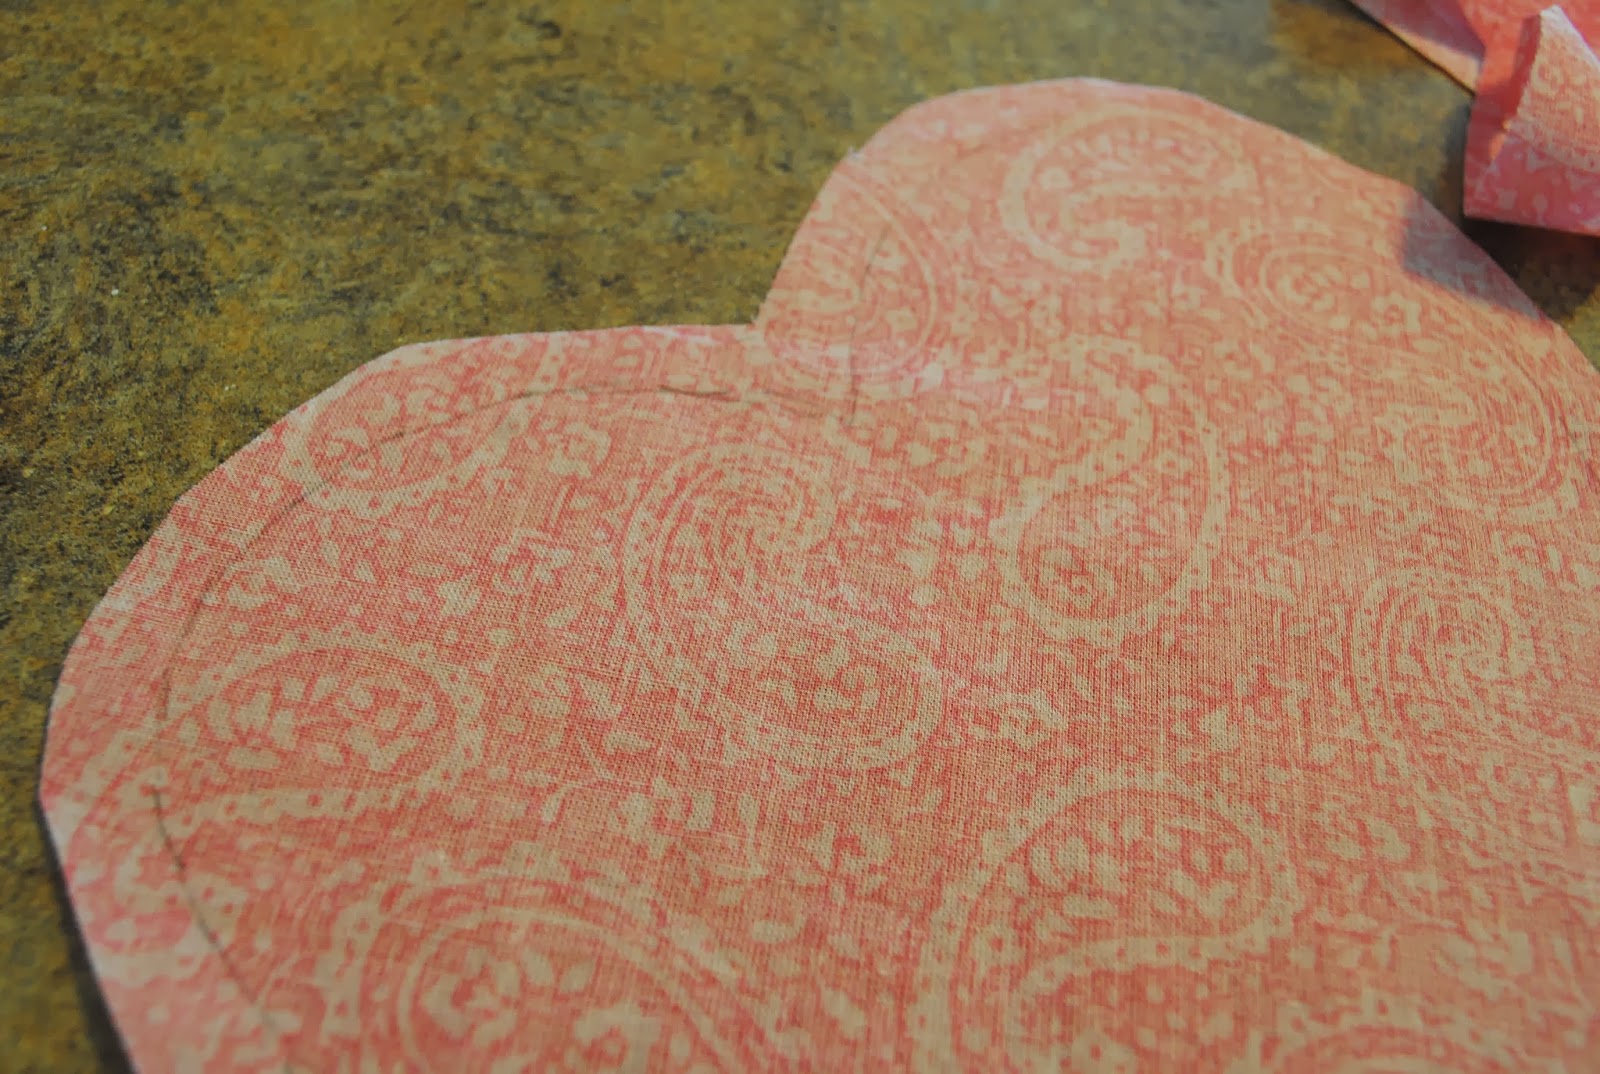
Next Iron out you piece of coordinating fabric so it's nice a flat. You are going to want to trace your heart onto the fabric on the wrong side. You can buy certain pencils and markers for this, I just used a regular pencil this time. I traced it so lightly that it will just wash right out.

Cut about 1/4 inch around your heart, leaving enough room to zig-zag around the edge to prevent fraying.
It is important that you do zig-zag around the edge. If you are lucky enough to own a serger, I envy you, you could serge the edge as well. I don't have one, so it's zig-zaging for me! I changed the setting of my stitch so they are closer together. It's different on every machine so you will need to look into how to do that. I chose to do the stitch closer together to prevent the chance of the fabric unraveling. If you are using a jersey material you don't need to do this, it will not fray.


The next step is pining it on the back side of the shirt with the right side down. The right side of the fabric is the "pretty" side, the side you want everyone to see. The wrong side is the back of the fabric. You want the wrong side facing up against the wrong side of the t shirt. I hope I haven't confused you now. You will want to pin all around it every 2-3 inches. I'm not huge fan of pining but when working with jersey it's a must. The fabric is so shifty you need to have it pinned if you don't want it to pucker.


Now start sewing on your trace line. Be sure to not sew through both side of your shirt!!! If your working with a smaller shirt be sure to just do a few inches at a time and then move your shirt while keeping the needle down so your not loosing your place. Go slow and take your time. Once you get around the whole heart tie a knot and cut your thread.

This is what it will should look like from the inside of your shirt.

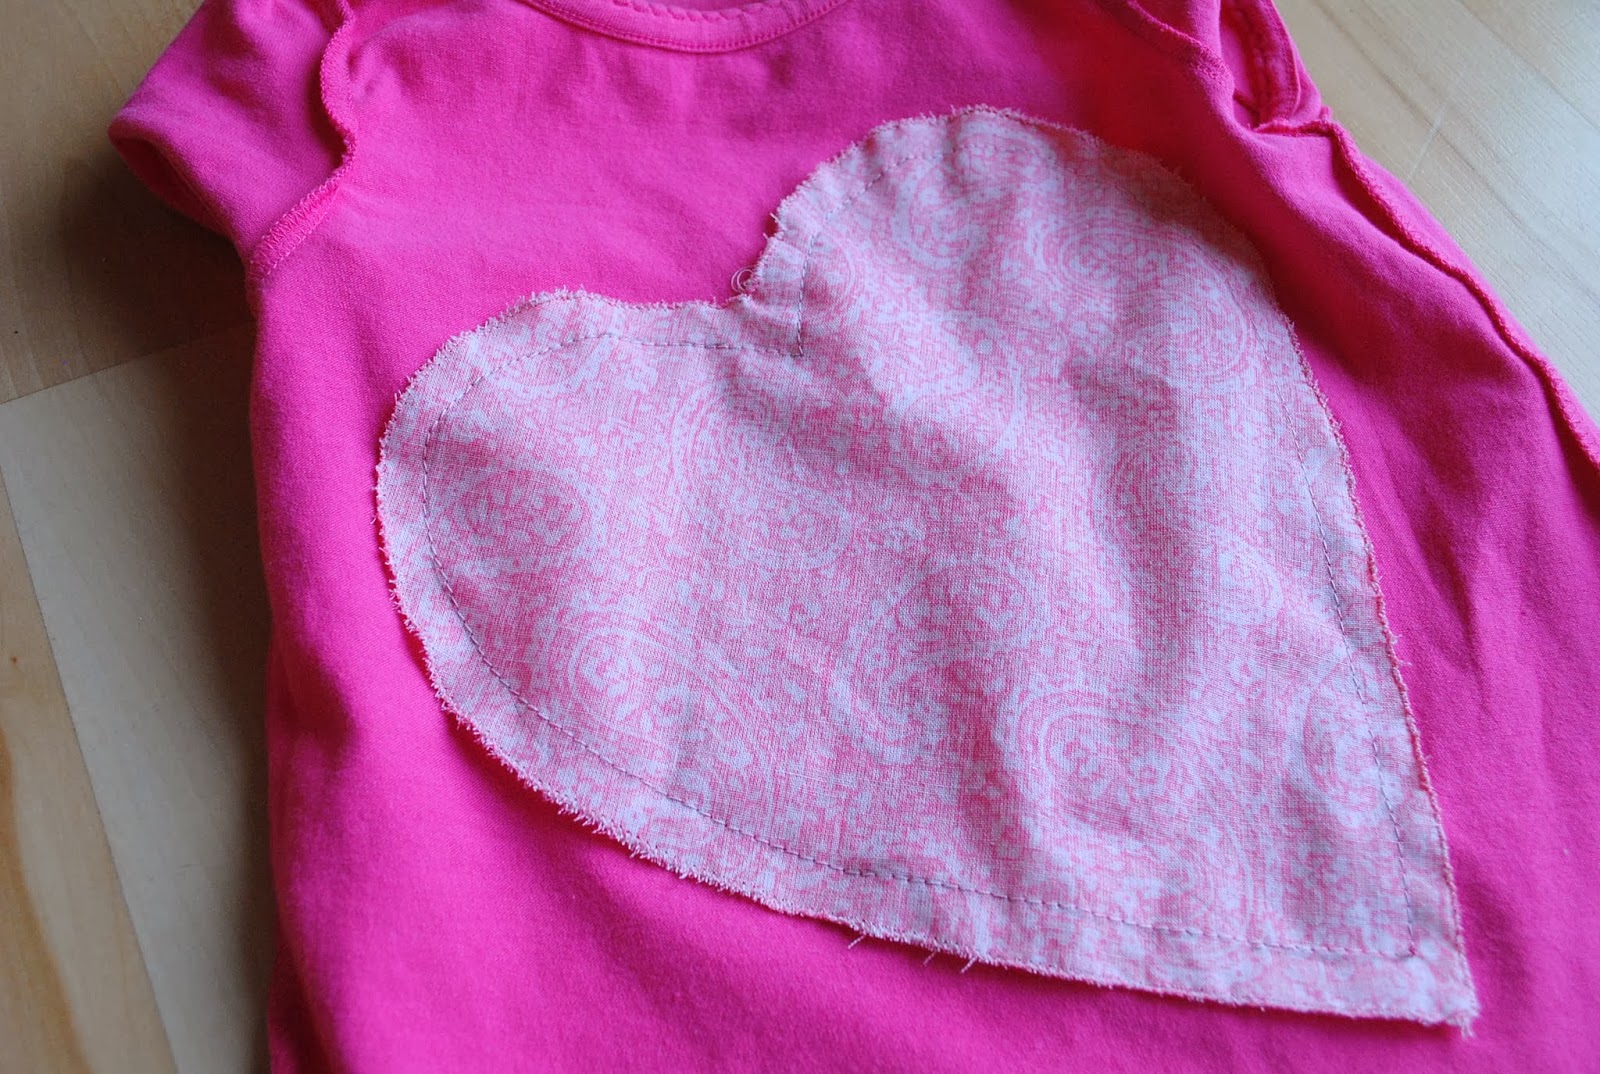
And when you flip your shirt right side out.


Now we are going to sew lines across. Feel free to grab a ruler and a pencil and trace your lines to sew. Every inch to inch and a half is fine. You could stop after every line, pick up and move to the next. That seemed like to much work for me so when I got to the edge of the heart I just sewed up the outline of the heart till I got to the next line. Super easy, takes way less time and not even noticeable.
When your done it will look like this.


It's a little puckered but once we do the next step you will never know. So if yours is more than this that's okay!
This is the tricky part. We are going to cut slits between each line BUT only through the t shirt and NOT the back fabric. Be very careful you don't cut through both pieces!!!! What I did is pinched the middle, made sure I only had the top piece and made a teeny tiny slit then went back and cut the rest of the way down.
Here are my teeny slits.

Then finish by cutting the rest of the way to the out line of your heart.
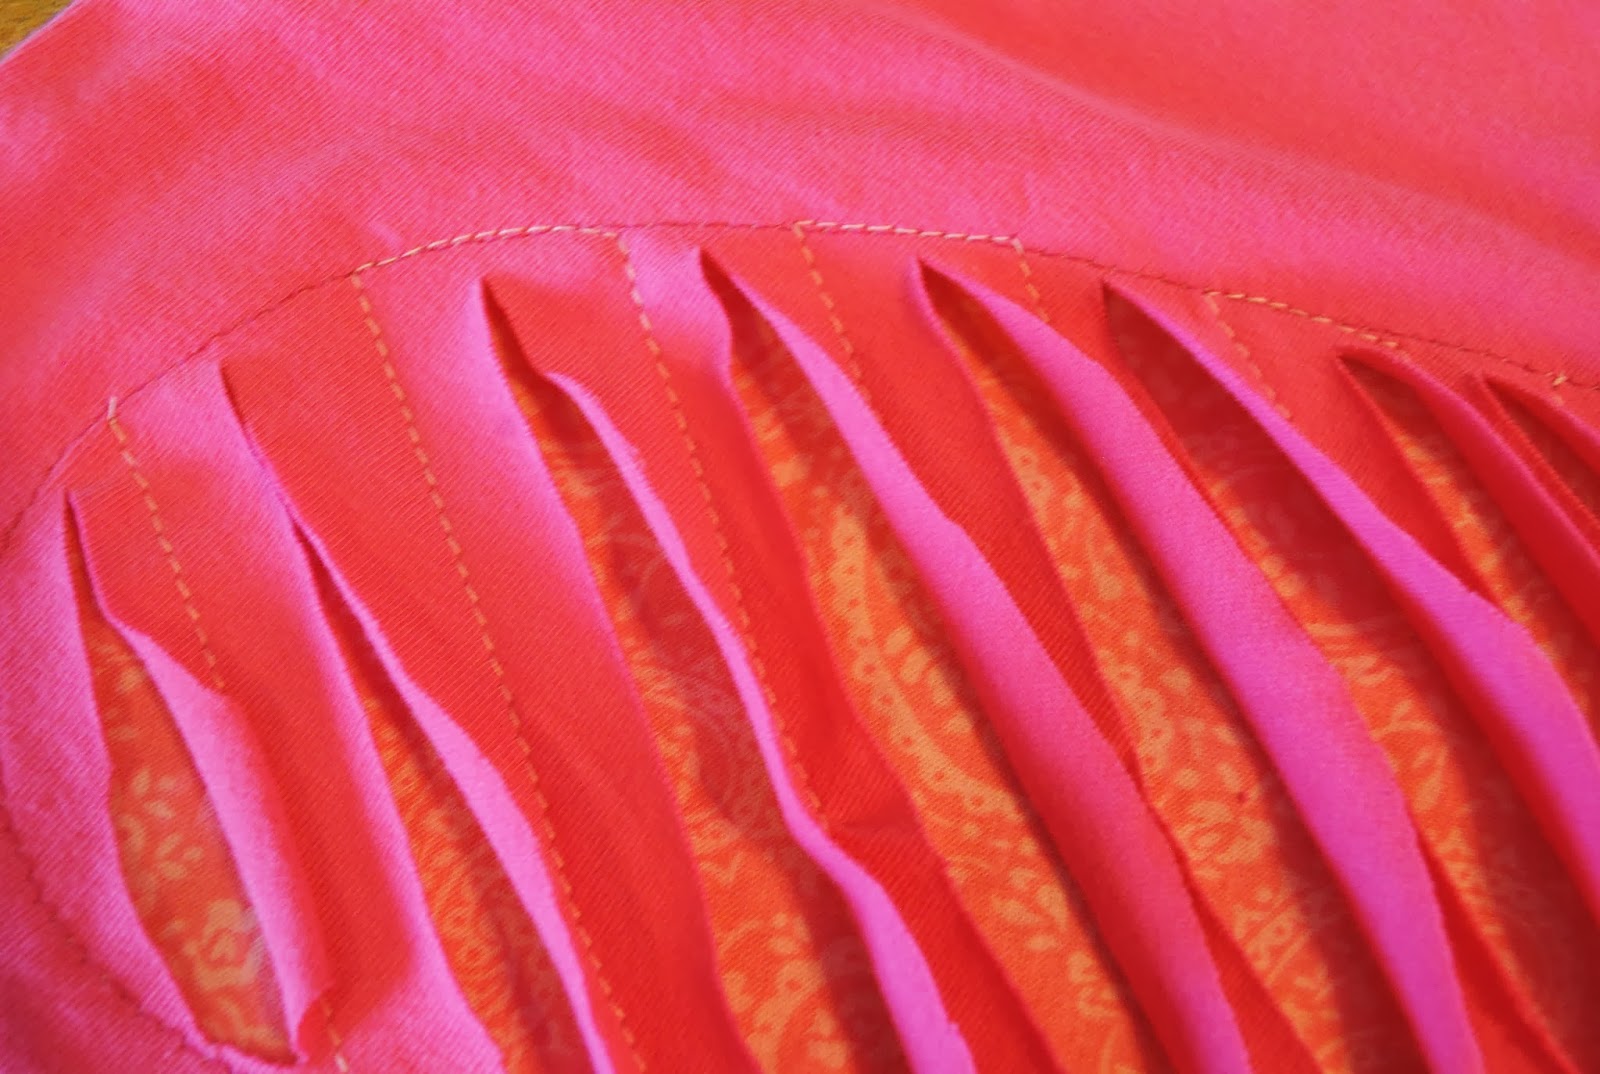

When I was done with this I wasn't happy with how little the fabric underneath showed, I wanted more! =) SO I made teeny slits along the sides of each strip like this.

I did this on each side of the sewn line across the heart. The top and the bottom. Once that is done...your done! Ruffle it up a bit and even giving it a wash will make for a nice curled look.


Try it on and your set for Valentines Day and many more days to come! You could do this for any shape, not just a heart. The possibilities are endless! Just keep thinking of what you could come up with and be sure to share your projects with me! I love to see all that you have done! I've seen a few knee patches and love them!


Also, sorry for the poor quality pictures. I guess I'm till figuring it out, my camera, the lighting...blah, blah, blah. It will come.
Thanks for reading!!!!
XOXO
Super cute and what a great look for both little and big girls! Thanks so much..your directions are great! :)
ReplyDelete