Monday, January 28, 2013

One Wall Down...Two More To Go

So we moved into our home in June, the beginning of June to be exact.  It's almost February.  That is 7 months.  I have gone 7 months with out hanging one darn this in this house.  It has been killing me! Well I can officially say that I hung something, and once that first nail was in the wall I couldn't stop!

It all started because when we bought this house we knew right away we wanted to paint.  Not because we didn't like the color choice, I didn't mind it but I really didn't care for it, but more important than that is the previous owners did such a crappy job.  The paint on the walls is just the start, but we don't have time for that today. So, not only did we want a different color, it needed a fresh coat. 

Why didn't I get to it sooner you ask.  Well here's the low down.  In case you forgot, I have 3 kids, small kids. We had just moved to a new home, a more expensive home than what we were living in before.  School was starting for Payden, Greg was out of town a lot for work. I had no idea what color/shade I wanted. The list goes on really...but it mostly came down to not knowing what color.  I knew thought I wanted grey but that is a really hard color to pick.  I had samples taped to the walls all over this room, and this is no small room.  It's huge.  It's a living, dining, office, and kitchen all put together in one.  It has vaulted ceilings and connects to the entry way with out any good cut off points.  This big room also included red walls in the kitchen and a big red wall at the other end.  I knew for sure that those walls would need 2 coats of paint.  Along with the rest I assumed.

I had bought 3 different $3.00 samples and finally picked one.  And on New Years Eve I did what every other human being does, go to Home Depot, take the plunge and buy 5 gallons of paint.  Come home, feed the family, trick your kids by yelling Happy New Year at 8 pm and put them to bed.  Distract the husband with the play station remote and get to painting at 8:30 at night.  I just had to get that red wall done.  Two coats later the hubby and I were off to bed (before midnight, sad I know).  When we woke in the morning I had butterfly's in my tummy.  I couldn't wait to see what was waiting for me out in the giant room.  I jumped out of bed and it felt like it was Christmas morning...only to have my smile come to a screeching to a halt.  It     looked      purple.

Greg agreed as well, with the agreement came some rumblings, something along the lines of "Don't think your going to spend another $150 on more paint!"

So I continued to paint the rest of the room hoping once it was all done it would look more grey and less purple.  It didn't, not in my eyes at least.  I had friends come take a look and they didn't mind it but I just couldn't do it.  So I called Home Depot, was worth a shot right?  And boy did I luck out.  The manager said to bring the paint back in and get something else!  So that's what I did.  About 2 weeks later I was painting this whole stinkin room again.  It took me about a 3-4 days to get the main part of the room done, including fresh white paint on all the trim.  Then about 2 more days on the entry way and another 2 days on the kitchen.  I work when I can so that's why it takes so long. 

Okay, so that's my painting story. 

Here is a pic (the best I could come up with since I'm horrible at remembering to get a before shot).


You can see the tan color and the red.

This is "The Big Wall" once we were done.  Nice and big and blank.


(Night pictures, not the best...sorry!)

I pulled out all of my boxes of frames and other do thingies and my big guy frames as well.  I rarely ever pay full price for a frame at a store.  A lot of our frames are from our wedding, gotten as gifts, $3.00 cheepies from Walmart/Target.  But the ones I love the most are from thrift stores.  I've been collecting them for a few years now.  I look past what is in the frame and check out the frame itself and the price tag!  Especially the bigger ones!  I dont' think I've payed more than $6.00 for any of them. 

Now that they are up I'll be changing out the art/pictures for other things, I have a few blank canvas's that are waiting to get painted but a few special artists that live here and lots of the frames will be getting a fresh coat of paint once summer rolls around!  I can't wait!

So here it is....


Excuse the mess, real life here people.

What was my trick?  Nothing, I just started placing, marking and hammering.  Probably not the best idea but it worked!  Lucky I guess?

Thanks for reading my short story ;)  Come again!

Megan

Friday, January 25, 2013

Valentine's Shirt

It's not really a Valentine's shirt, that's what I love about hearts, you can wear them all year. Especially if your 3!  But Valentine's is coming up so why not!?


One thing I love about having a girl is that I can make her a outfit for every holiday, if I wanted.  I haven't gone totally crazy...yet, so I don't do every holiday but one I do ever year is Valentines.  This year I decided on a shirt, Vada does NOT like dresses at the moment and I wanted to make something that she can wear more than once, so a shirt it was.
 
Supplies:  A t shirt (this one is from Walmart as well for about $3.00) and a piece of coordinating fabric.  It can be anything really, just so you and her like it.  You can use regular cotton or jersey (the type of fabric t shirts are made of) but it will make for a little more difficult project if your not used to sewing with it.  I'll do a post on jersey sometime!  You need enough of your coordinating fabric, I chose regular cotton, for the shape of a heart.


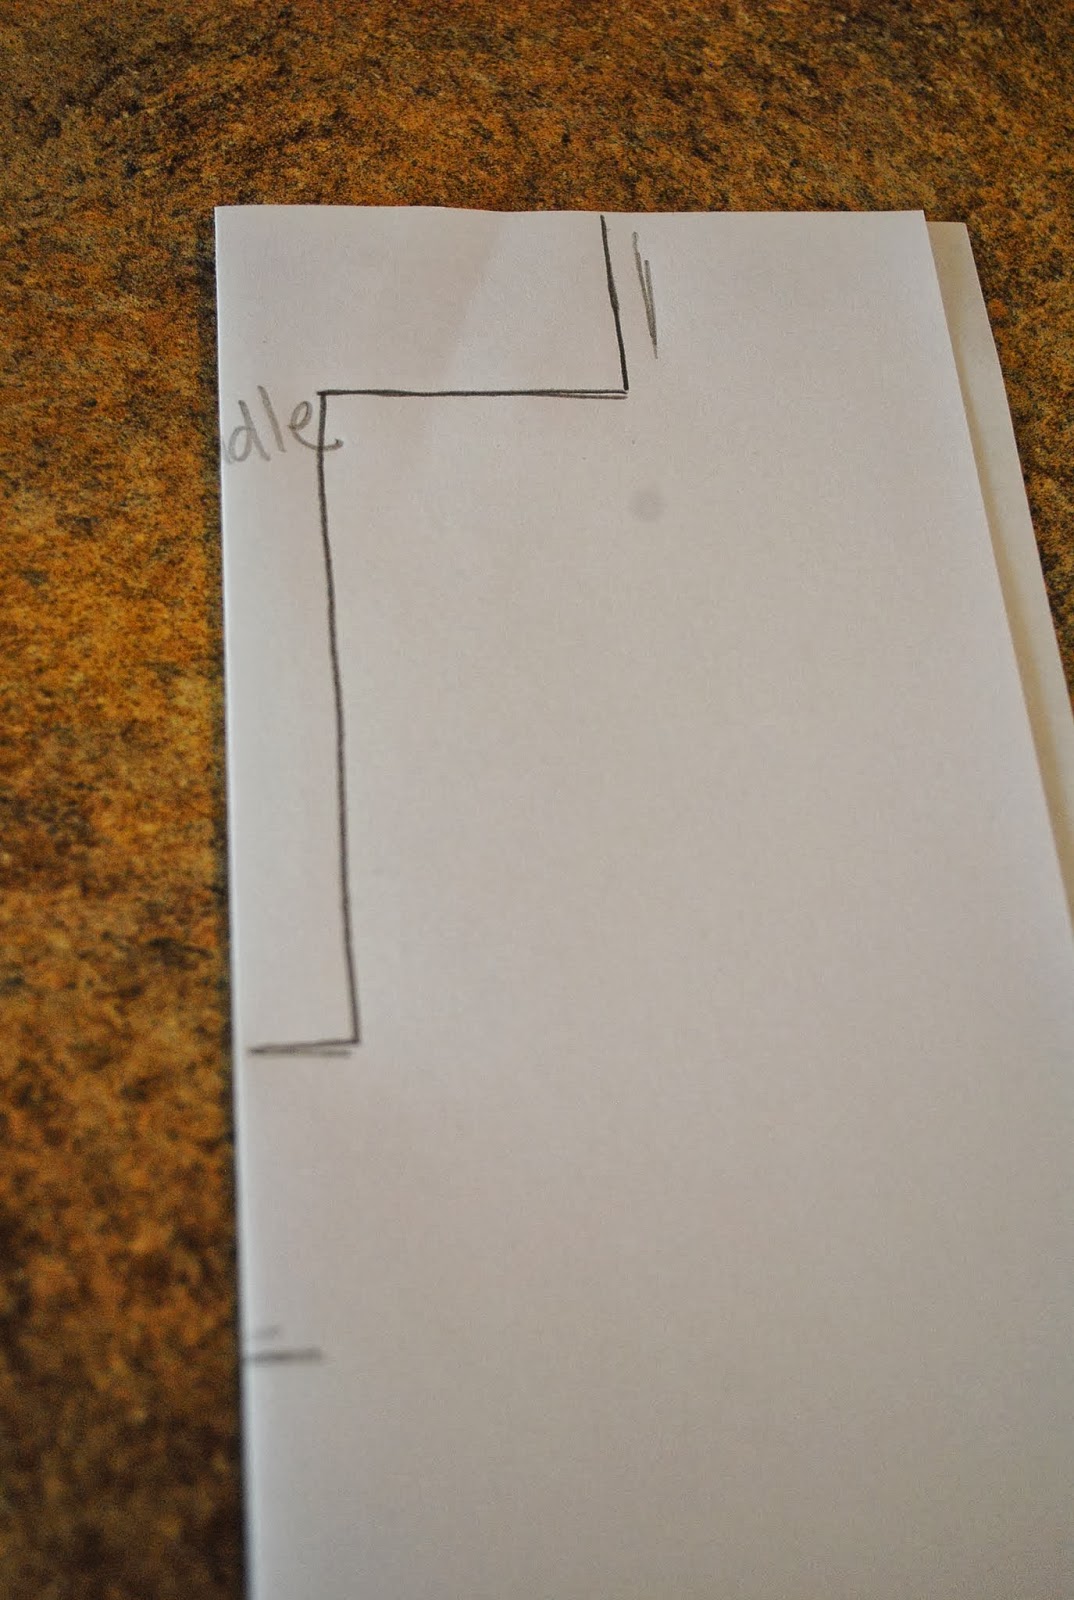
Your going to want to lay your shirt out and decide on the size of your heart.  And we all know how to cut a heart, right?


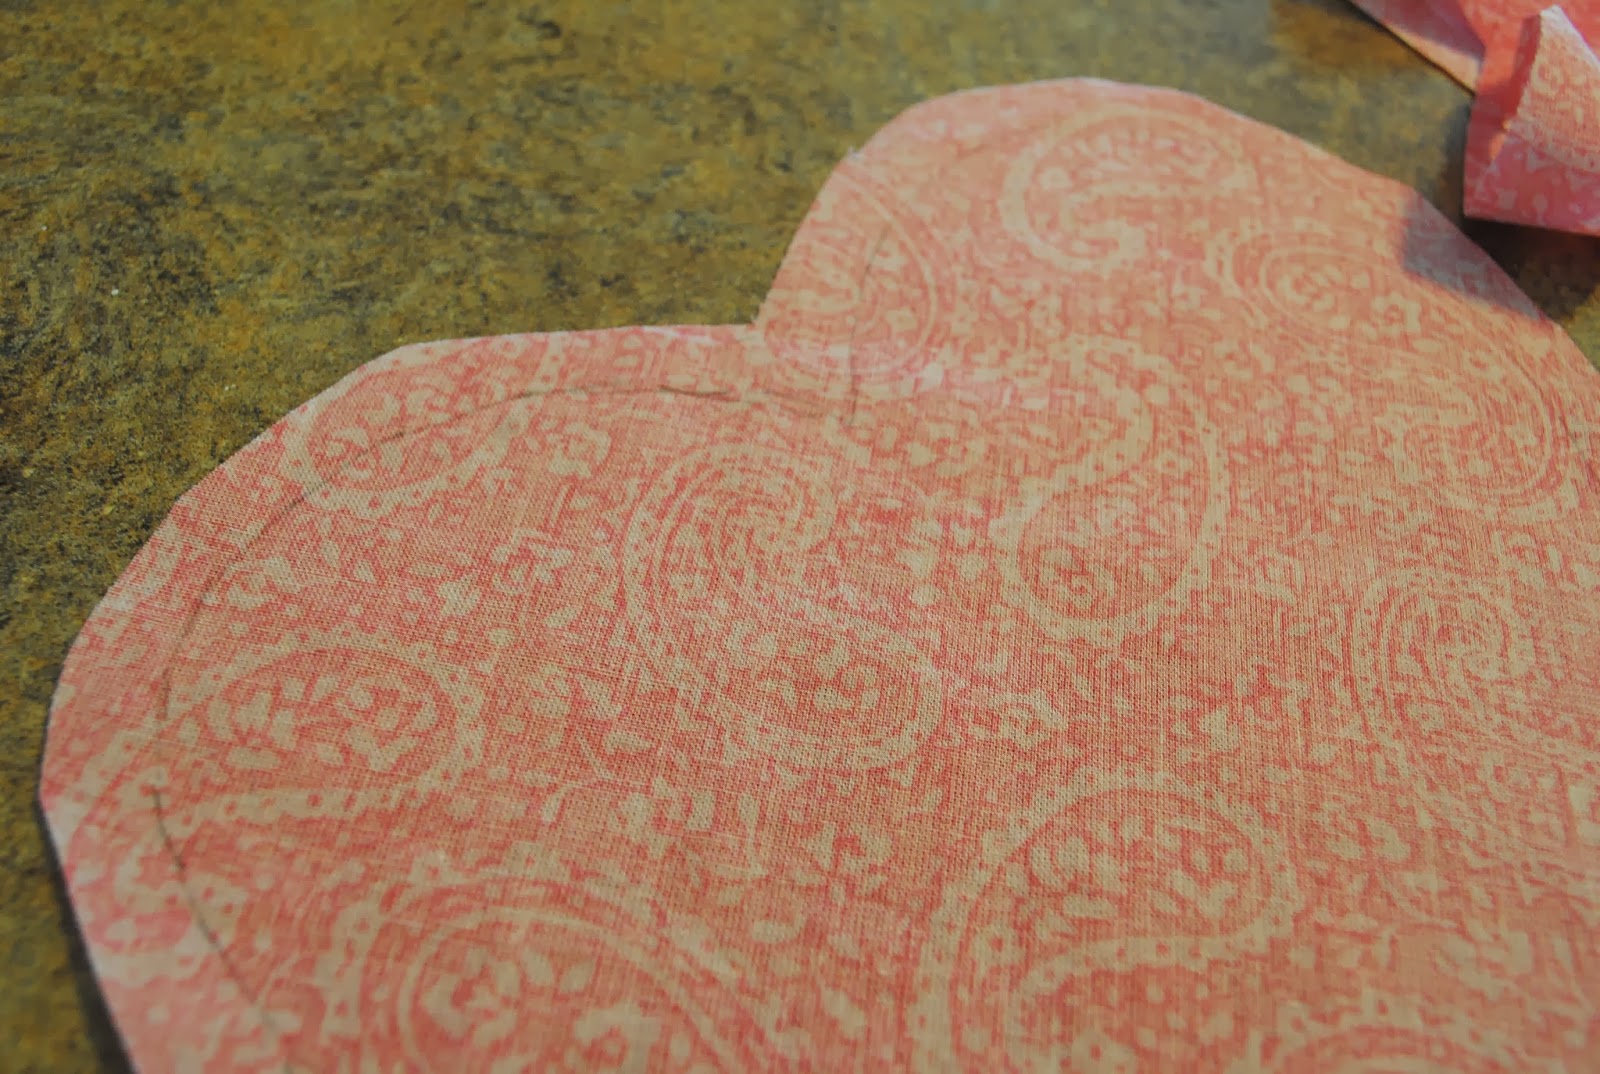
Next Iron out you piece of coordinating fabric so it's nice a flat.  You are going to want to trace your heart onto the fabric on the wrong side.  You can buy certain pencils and markers for this, I just used a regular pencil this time.  I traced it so lightly that it will just wash right out.


Cut about 1/4 inch around your heart, leaving enough room to zig-zag around the edge to prevent fraying.


It is important that you do zig-zag around the edge.  If you are lucky enough to own a serger, I envy you, you could serge the edge as well.  I don't have one, so it's zig-zaging for me!  I changed the setting of my stitch so they are closer together.  It's different on every machine so you will need to look into how to do that.  I chose to do the stitch closer together to prevent the chance of the fabric unraveling.  If you are using a jersey material you don't need to do this, it will not fray.


The next step is pining it on the back side of the shirt with the right side down.  The right side of the fabric is the "pretty" side, the side you want everyone to see.  The wrong side is the back of the fabric.  You want the wrong side facing up against the wrong side of the t shirt.  I hope I haven't confused you now.  You will want to pin all around it every 2-3 inches.  I'm not huge fan of pining but when working with jersey it's a must.  The fabric is so shifty you need to have it pinned if you don't want it to pucker.


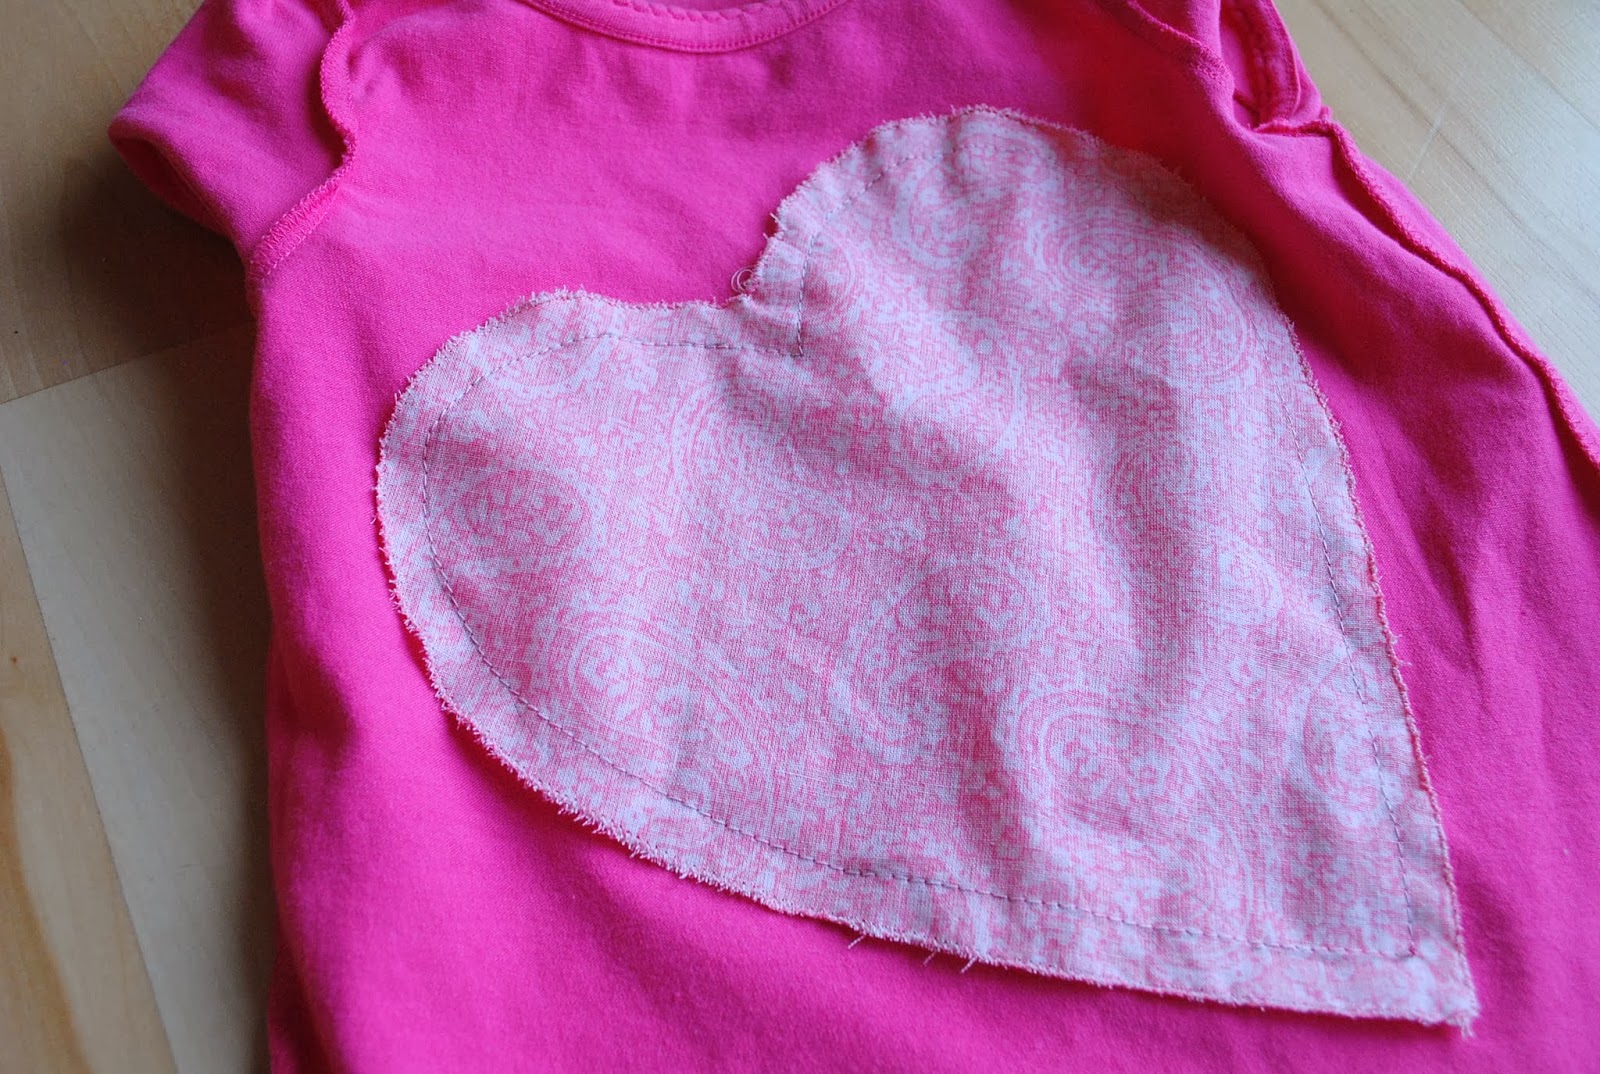
Now start sewing on your trace line.  Be sure to not sew through both side of your shirt!!!  If your working with a smaller shirt be sure to just do a few inches at a time and then move your shirt while keeping the needle down so your not loosing your place.  Go slow and take your time.  Once you get around the whole heart tie a knot and cut your thread.


This is what it will should look like from the inside of your shirt.


And when you flip your shirt right side out.


Now we are going to sew lines across.  Feel free to grab a ruler and a pencil and trace your lines to sew.  Every inch to inch and a half is fine.  You could stop after every line, pick up and move to the next.  That seemed like to much work for me so when I got to the edge of the heart I just sewed up the outline of the heart till I got to the next line.  Super easy, takes way less time and not even noticeable.

When your done it will look like this.


It's a little puckered but once we do the next step you will never know.  So if yours is more than this that's okay!

This is the tricky part.  We are going to cut slits between each line BUT only through the t shirt and NOT the back fabric.  Be very careful you don't cut through both pieces!!!!  What I did is pinched the middle, made sure I only had the top piece and made a teeny tiny slit then went back and cut the rest of the way down.

Here are my teeny slits.


Then finish by cutting the rest of the way to the out line of your heart.


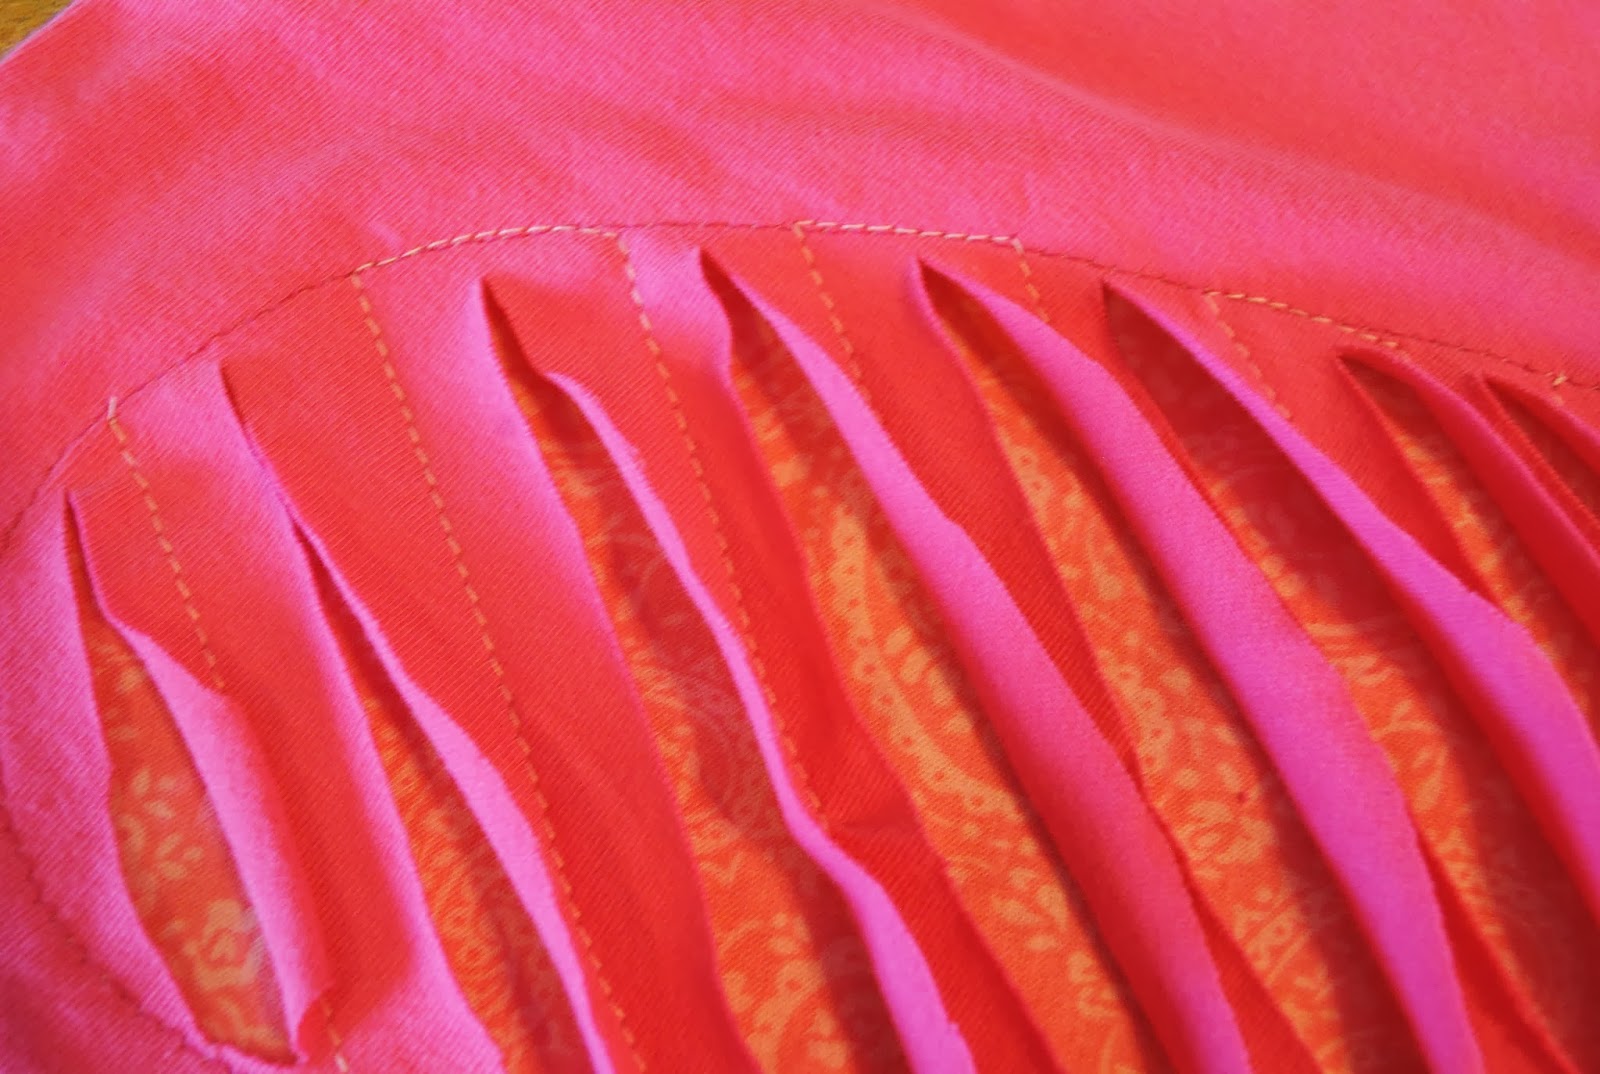
When I was done with this I wasn't happy with how little the fabric underneath showed, I wanted more!  =)  SO I made teeny slits along the sides of each strip like this.


I did this on each side of the sewn line across the heart.  The top and the bottom.  Once that is done...your done!  Ruffle it up a bit and even giving it a wash will make for a nice curled look.


Try it on and your set for Valentines Day and many more days to come!  You could do this for any shape, not just a heart.  The possibilities are endless!  Just keep thinking of what you could come up with and be sure to share your projects with me!  I love to see all that you have done!  I've seen a  few knee patches and love them! 


Also, sorry for the poor quality pictures.  I guess I'm till figuring it out, my camera, the lighting...blah, blah, blah.  It will come.

Thanks for reading!!!!
XOXO

Wednesday, January 23, 2013

Interfacing

Interfacing can help you keep sane during many projects.  It acts as a glue, kind of.  Its wonderful, I love it! 


This project is a super, super easy interfacing project.  I have made many of these over the last 6 years for my own kids and as gifts.  They are super easy and affordable and make such a  treasured gift for baby/child.

Here is what you need...


A blank t, interfacing and your choice of fabric (enough to make a letter or shape of your choice).  Your t could have stripes or dots or whatever, for this one I just used a solid color one.  These are usually super easy to find.  I found a bunch of these this fall for Tristan knowing that I was going to add my own touches to them.  I bought this one (and a few more) at Walmart for around $3.00 each...you can not beat that price!  I have found lately they have the best selection for a affordable price.  I have found some before at Target as well, especially on clearance.  Just buy ahead for next season.  Best way to shop!  Okay, getting off task.

The interfacing I used for this project is called Wonder Under.  I'm not a huge fan of it, its hard to get the paper backing off of it sometimes.  But it's cheap and does the job.  You can find it at your fabric store, it's sold by the yard. 


My favorite is called Steam-A-Seam, you can find that in the notions isle.  It's sold in a pack of sheets and is more expensive but I love it.


Okay first thing first.  Lay your shirt to get the general size of the letter (or shape) you want.


Mark about where you want the letter.  If your using a really easy letter like I am mark the middle so you can fold over, make one cut and you have a perfectly symmetrical letter.  You could always use some sort of stencil or trace a shape as well, but around here I like to free hand most things.  I love hand made items and I love them even more when you know they are hand made, so much more special that way.


Fold your letter is half, or don't.  Depending on what your cutting.  Cut it out and open it up. Lay it on your shirt to make sure you like the shape/size of it.


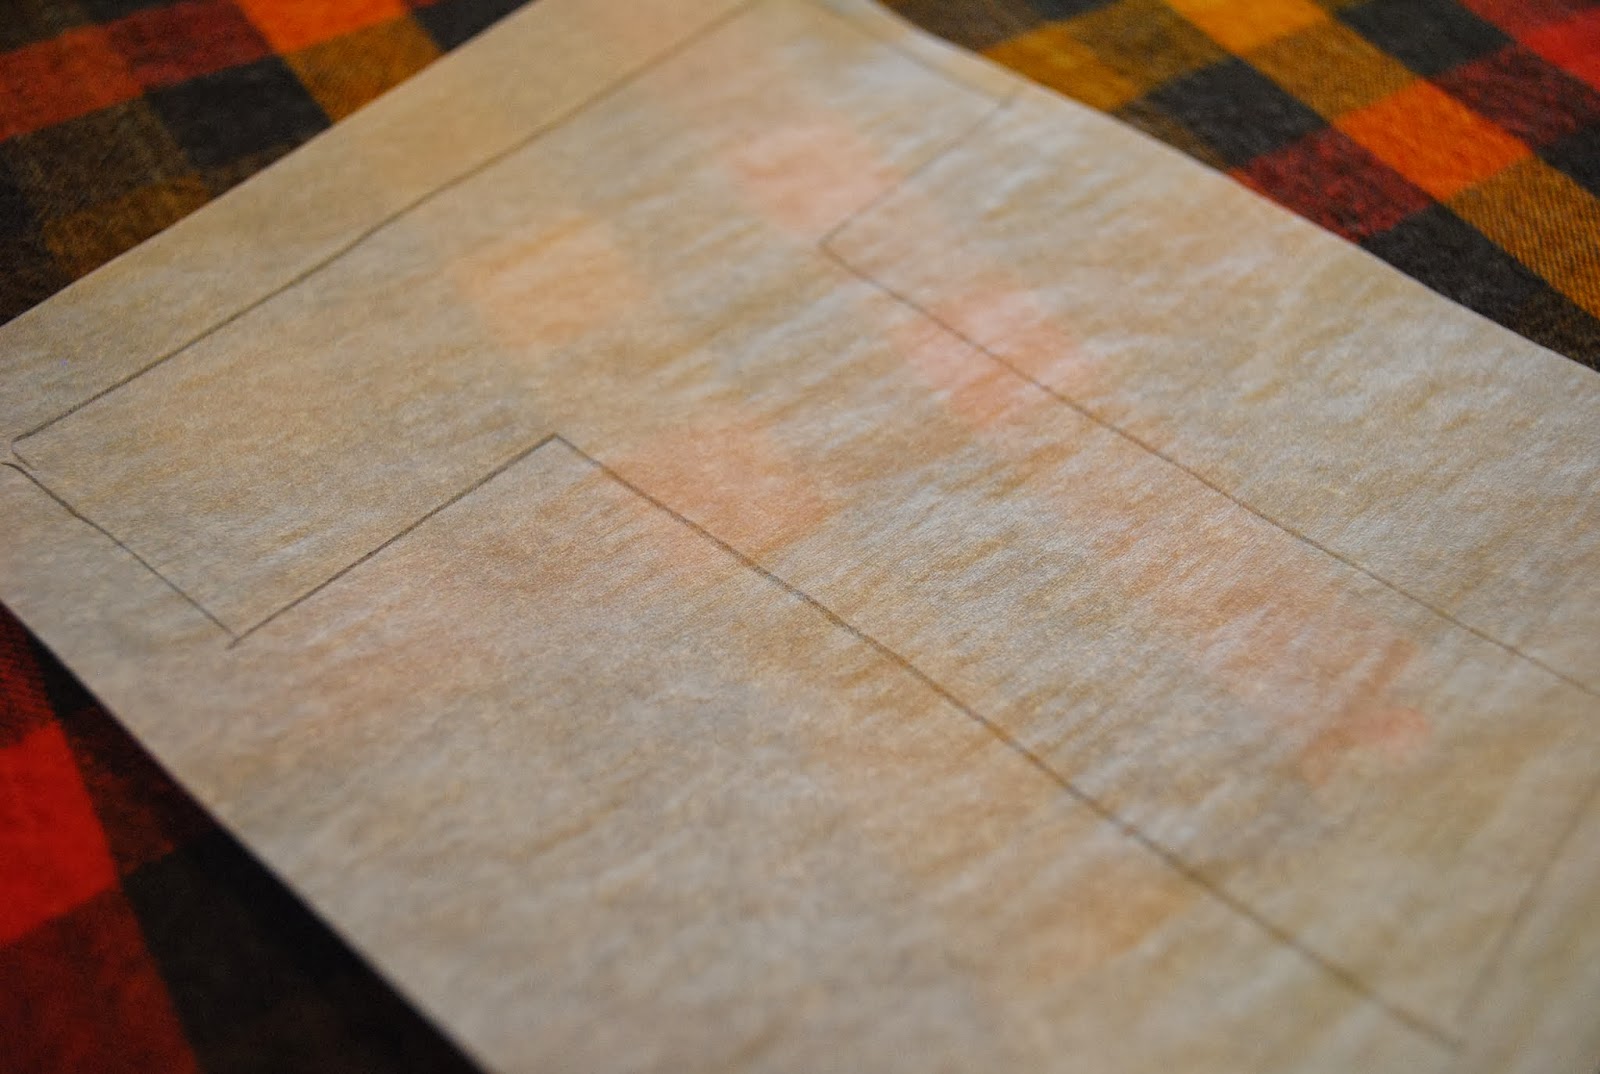
Next your going to trace it onto your interfacing.  Now if you have a easy letter like the "T" it doesn't matter what way it is facing, but if you have a "J" be sure to trace it so when it's flipped around to be ironed on your shirt it's going the right direction.  I have made this mistake a time or two ;)


Next you want to iron your interfacing onto the fabric.  You want to do this before you cut the letter out.  It will make for much better lines and only cutting it out once instead of twice.


Cut out your letter or shape and peel off the interfacing paper.


This is what the back will look like.  Put this side down on your shirt.  It will act as a glue.  Do not let your iron touch this side, it will melt to your iron and make a huge sticky mess.

Place your letter on your shirt, until you iron it down you can pick it up and move it as often as you want.  Make sure it is where you want it.  I put this one down and off to the side, but it would look just as good in the middle.


Once your happy with your placement, iron it down.  There are more specific instructions on the interfacing when you buy it but I don't think I have ever read them. I'm not a 'read the instructions' kind of girl.

I just set my iron to regular/high heat and no steam.


You will want to sew it down.  It will not last through many washes like this and will come off and fray after time.  There are different ways to sew this in place.  I used a zig-zag for this one.  It will prevent the edges from fraying.  If you wanted more of a rougher look you could just use a straight stitch the whole way around. The edges will frey over time but it will still be cute.  Take your time and don't forget the inside of you letter if your doing a O, A, P, etc...


And, your done!


I'd love to be able to show you this on a actual human being but he says "No!"  Favorite new word?  I think Yes!
 
You can now personalize anything.  Make your children there very own, one of a kind shirt. Let them help pick the fabric even.