
This project is a super, super easy interfacing project. I have made many of these over the last 6 years for my own kids and as gifts. They are super easy and affordable and make such a treasured gift for baby/child.
Here is what you need...

A blank t, interfacing and your choice of fabric (enough to make a letter or shape of your choice). Your t could have stripes or dots or whatever, for this one I just used a solid color one. These are usually super easy to find. I found a bunch of these this fall for Tristan knowing that I was going to add my own touches to them. I bought this one (and a few more) at Walmart for around $3.00 each...you can not beat that price! I have found lately they have the best selection for a affordable price. I have found some before at Target as well, especially on clearance. Just buy ahead for next season. Best way to shop! Okay, getting off task.
The interfacing I used for this project is called Wonder Under. I'm not a huge fan of it, its hard to get the paper backing off of it sometimes. But it's cheap and does the job. You can find it at your fabric store, it's sold by the yard.

My favorite is called Steam-A-Seam, you can find that in the notions isle. It's sold in a pack of sheets and is more expensive but I love it.

Okay first thing first. Lay your shirt to get the general size of the letter (or shape) you want.

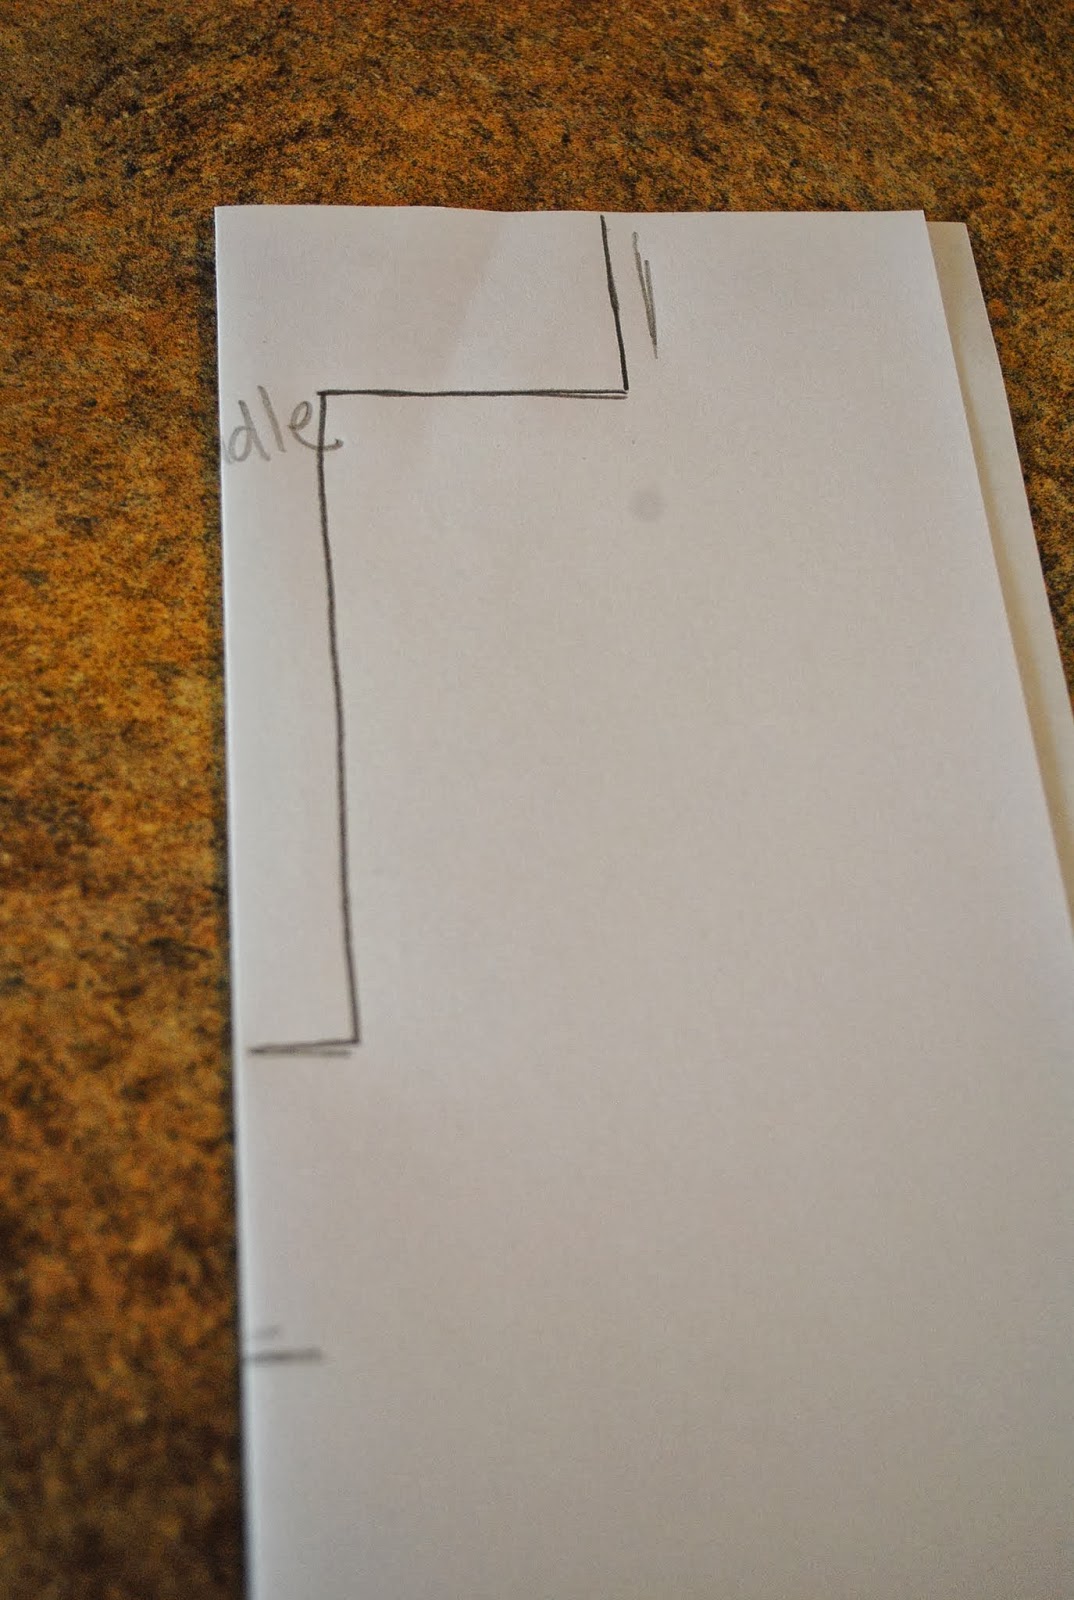
Mark about where you want the letter. If your using a really easy letter like I am mark the middle so you can fold over, make one cut and you have a perfectly symmetrical letter. You could always use some sort of stencil or trace a shape as well, but around here I like to free hand most things. I love hand made items and I love them even more when you know they are hand made, so much more special that way.

Fold your letter is half, or don't. Depending on what your cutting. Cut it out and open it up. Lay it on your shirt to make sure you like the shape/size of it.

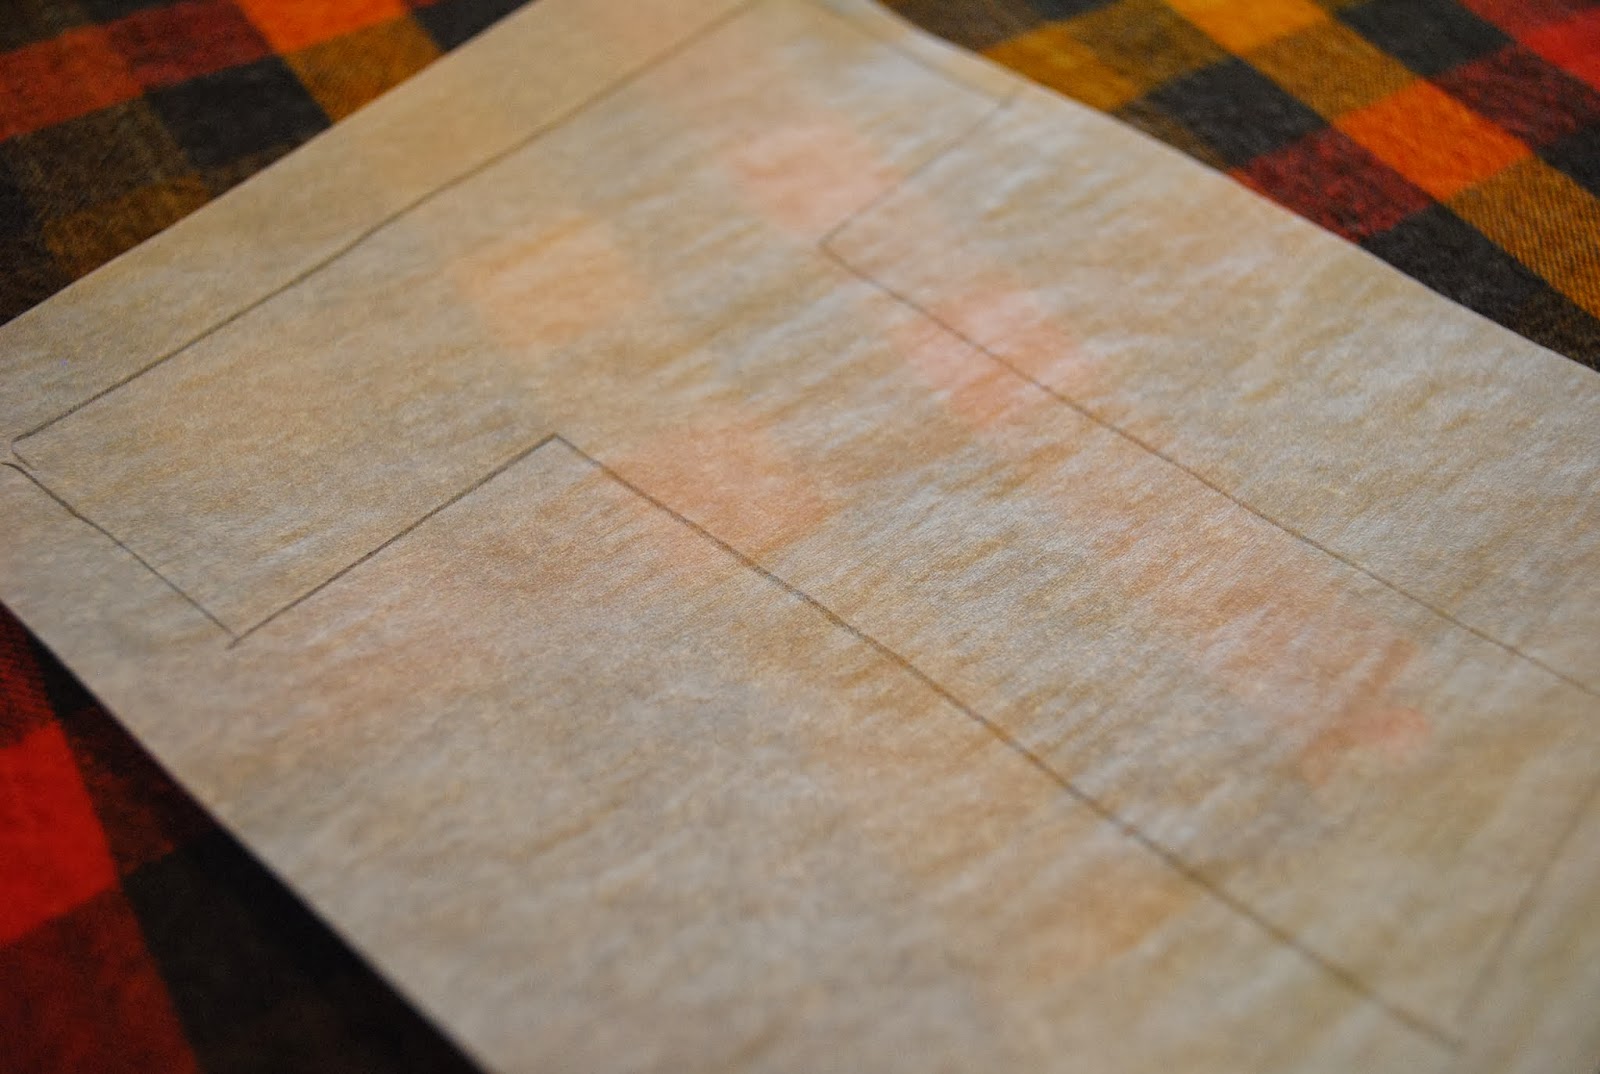
Next your going to trace it onto your interfacing. Now if you have a easy letter like the "T" it doesn't matter what way it is facing, but if you have a "J" be sure to trace it so when it's flipped around to be ironed on your shirt it's going the right direction. I have made this mistake a time or two ;)


Next you want to iron your interfacing onto the fabric. You want to do this before you cut the letter out. It will make for much better lines and only cutting it out once instead of twice.

Cut out your letter or shape and peel off the interfacing paper.


This is what the back will look like. Put this side down on your shirt. It will act as a glue. Do not let your iron touch this side, it will melt to your iron and make a huge sticky mess.
Place your letter on your shirt, until you iron it down you can pick it up and move it as often as you want. Make sure it is where you want it. I put this one down and off to the side, but it would look just as good in the middle.

Once your happy with your placement, iron it down. There are more specific instructions on the interfacing when you buy it but I don't think I have ever read them. I'm not a 'read the instructions' kind of girl.
I just set my iron to regular/high heat and no steam.

You will want to sew it down. It will not last through many washes like this and will come off and fray after time. There are different ways to sew this in place. I used a zig-zag for this one. It will prevent the edges from fraying. If you wanted more of a rougher look you could just use a straight stitch the whole way around. The edges will frey over time but it will still be cute. Take your time and don't forget the inside of you letter if your doing a O, A, P, etc...

And, your done!


I'd love to be able to show you this on a actual human being but he says "No!" Favorite new word? I think Yes!
You can now personalize anything. Make your children there very own, one of a kind shirt. Let them help pick the fabric even.
No comments:
Post a Comment